

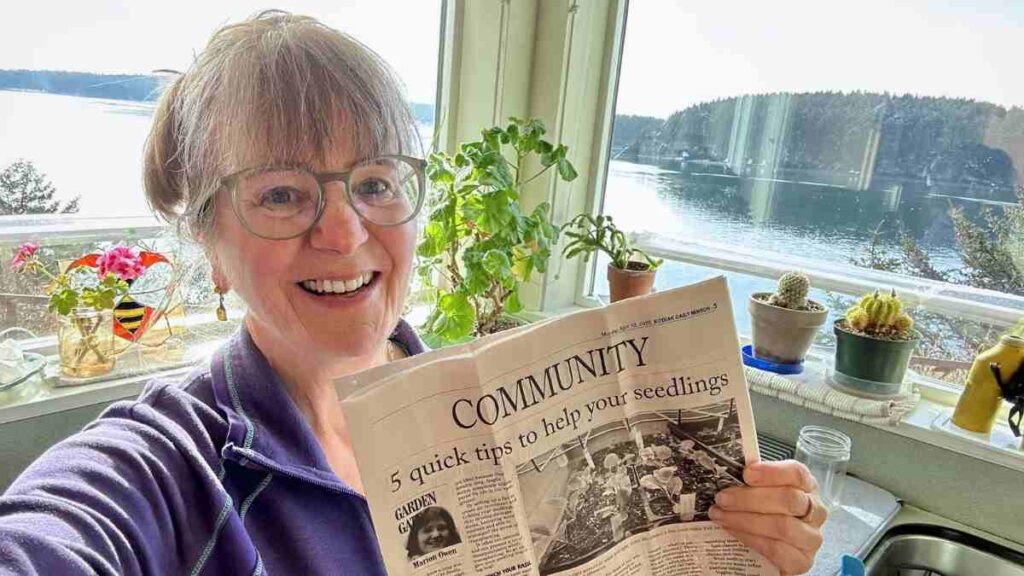
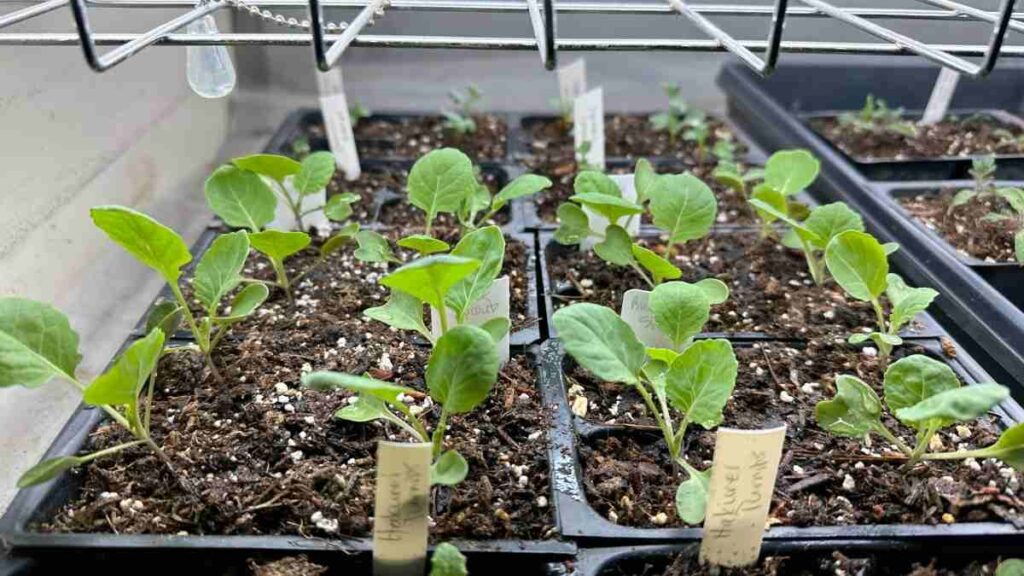
It's been a long winter, and you're finally getting around to starting a few seedlings. You cheer them on as they sprout and grow, watering them and setting them under grow lights like family heirlooms.
Your seedlings are thriving; everything is going well. But are you really giving them all the care they deserve? I ask because there are a few small steps—quick and easy—that we often forget, but that make a real difference.
Here are five gentle reminders to help you enjoy the most beautiful, stocky, and best-prepared plants when it’s time to transplant them outside in the garden.
1. Tickle your seedlings
It sounds strange when you put it that way, but it’s serious business:
- Give your seedlings a gentle shake
- Not once a week, but often
- Run your hand lightly over them
- Or give the tray a slight shake
- Best of all, set up a small fan to blow a gentle breeze
Here’s why: outdoors, breezes force young plants to toughen up. Their stems thicken, their cells strengthen, and their roots anchor firmly in the ground. This phenomenon is called thigmomorphogenesis (THIG-moh-MORF-oh-GEN-ni-sis). Yes, it’s a real word, though (sorry!) it's too long for Scrabble.
Here's how the thigmomorphogenesis process works:
Indoors, sheltered from any drafts, your seedlings live a couch-potato existence, growing in a calm environment. Calm, but not ideal because they develop long, fragile stems, completely unprepared for life in the open ground.
By setting up a fan to create air movement and tickling your seedlings, they develop stronger stems, becoming more resilient and able to withstand the stress of transplanting.
It takes ten seconds and can prevent a lot of disappointment when transplanting. So go on, give your seedling tray a big hug!
2. Pinch your basil, mint...
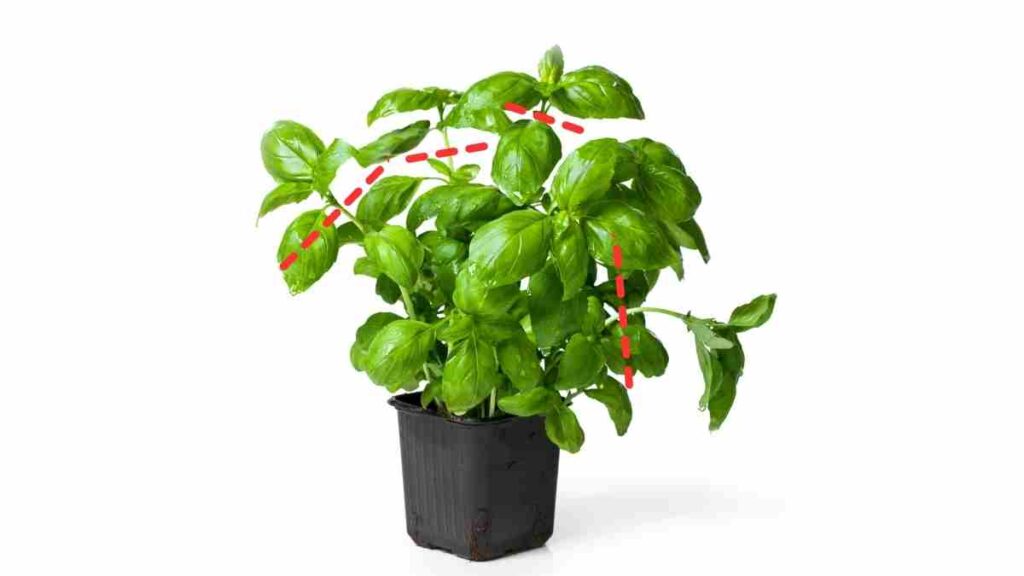
If you have basil seedlings under your grow lights, take a look at them: are they growing tall with a few pairs of well-spaced leaves? It’s time to pinch them back.
Pinching means removing the terminal bud (that's the little growth tip at the top) with your fingernails (or a tiny pair of scissors). With fingers, you can feel exactly where you're cutting.
It takes two seconds, and it encourages the plant to branch out. Do this at the end of each stem: two nice leaves, snip; two stems grow; two more nice leaves, snip! Now you have four stems!
Instead of a single stem reaching for the sky, you get a bushy plant with multiple branches. It may need support later on, but more leaves mean more basil in your pesto. A nice thought, right?
Pinching, an old gardening trick, also works with other leafy herbs like mint, sage, or lemon balm.
Pinching by the way, is not limited to herbs. Some people pinch their first tomato stems to get a plant with two main stems.
3. Thin out ruthlessly (and without guilt)
I know, I know. You planted them close together because you weren’t sure all the seeds would sprout. And now you have five little kale plants in the same pot. They look so cozy and cute, but the thought of pulling out four of them breaks your heart. But you have to do it.
Why? Overcrowded seedlings compete for light, water, and nutrients. They become spindly, weaken, and sometimes end up all dying. One strong plant is better than five weak ones. Thin them out by keeping the strongest one, and cut the others at ground level with small scissors—without pulling them out, so as not to disturb the roots of the plant you’re keeping.
And don’t wait to see “which one will be the best.” The longer you wait, the more nutrients the four you’re sacrificing will have stolen from the soil!
And heads up: This also applies to thinning carrot seedlings.
4. Remove the first flower from your pepper plants
For those of you who are brave enough to grow peppers in Kodiak, here’s a tip that many experienced pepper growers follow (even though the scientific evidence is somewhat vague): When a young chili or bell pepper plant produces its very first flower, while it’s still small, you remove it.
The idea is that a plant that’s still tiny and trying to produce fruit will focus all its energy on that first fruit at the expense of its overall growth. By removing that first flower, you’re telling it, “Not yet—grow up a bit.”
In Kodiak, with our short growing season and the necessity to grow peppers in a greenhouse, high tunnel, or on the living room window sill (I raise my hand), having a well-developed plant before flowering is crucial—it will have more branches, meaning more flowers, meaning more peppers in the fall. And for me, more peppers for hot sauce!
To be a good gardener, sometimes you have to be ruthless.
5. Turn your trays
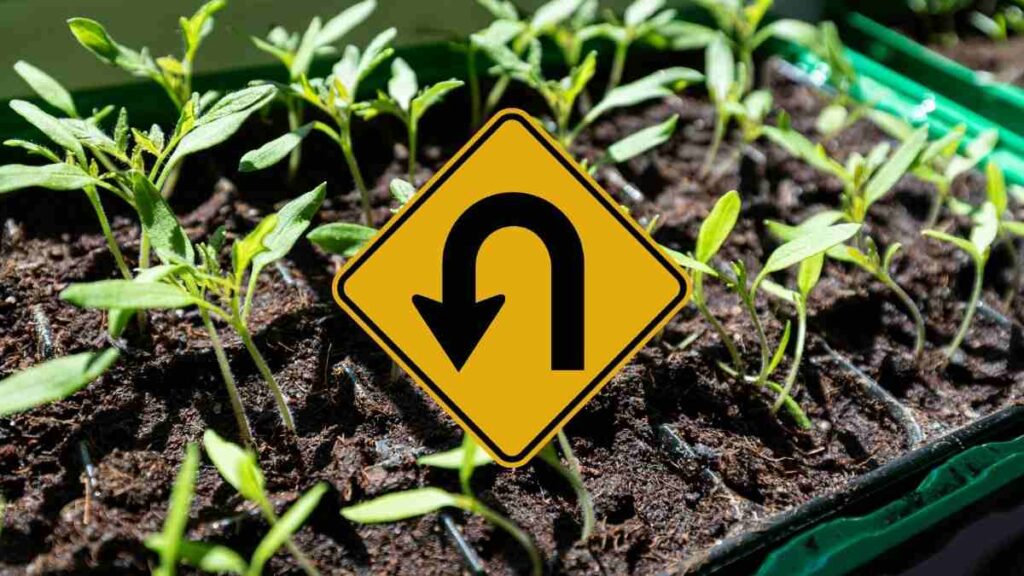
You have a nice, well-set-up seedling tray, and your seedlings seem to be leaning slightly toward… what? A certain direction? Oops, that’s called phototropism (no, it’s not the name of a disease), when plants grow toward the light. If your light source isn’t perfectly centered above them, they’ll gradually become lopsided, weak, and spindly.
The solution: rotate your trays 90 degrees every time you water, or about every other day. It takes five seconds, and it results in straight, stout, well-balanced seedlings that will be much easier to handle when transplanting.
TIP: If you're starting small, hard-to-handle seeds, try a mini-soil blocker. It's my favorite tool for tiny seeds. Saves time, prevents transplant shock and it makes seed-starting fun! Watch this how-to video:
There you go! Five simple steps that aren’t exactly revolutionary, but are easy to forget when you have ten different types of plants under your grow lights and life gets busy.
So, think of this week's article as a friendly reminder: watering and keeping your grow lights four inches above the tops of your seedlings (check the instructions!) is the bare minimum, but in just two extra minutes, you can do the most for your plants!
Kodiak gardening calendar
Inspect flowering bulbs. If they are emerging, make sure branches and other covers aren't squishing them.
Last chance to prune berries and fruiting shrubs and trees.
What seeds to start (4 to 6 weeks before planting outside):
Veggies: Swiss chard, mesclun (salad) mixes, lettuce, cauliflower, cabbage, broccoli, kale, mustard greens. Cucumbers, zucchini, peppers (may be different if growing in a hoophouse or greenhouse).
Herbs: Dill, chervil, coriander, lemon balm, sage, arugula (garden rocket), savory.
Flowers: African daisy, marigolds, godetia, nasturtium.
One more thing to make life easier for you and your seedlings: Set up a timer for your grow lights to provide 14 to 16 hours of light. Keep seedlings moist, not soggy, and do not let them dry out.
Need more seed-starting tips? Refer to previous columns in the Kodiak Daily Mirror (online or in print).
See you next week!
~Marion
PS - For fun, listen to my shortie podcast, "Want Stronger Seedlings? Use This Olympic Training Trick"
Find Marion online...
Get weekly tips and upliftings with my newsletter: https://success.gardenerscoach.com/newsletter
Instagram: instagram.com/theupbeetgardener
Facebook: https://www.facebook.com/theupbeetgardener
Explore my free garden resources: https://success.gardenerscoach.com/library
Shop my trusted gear: https://theupbeetgardener.com/resources/
Browse my courses: https://success.gardenerscoach.com/compost-academy
Check out the UpBeet Gardener community: https://success.gardenerscoach.com/tug
Catch me on YouTube: https://www.youtube.com/@TheGardenersCoach


